Scratch Tutorial for Beginners: Your First Steps in Visual Programming
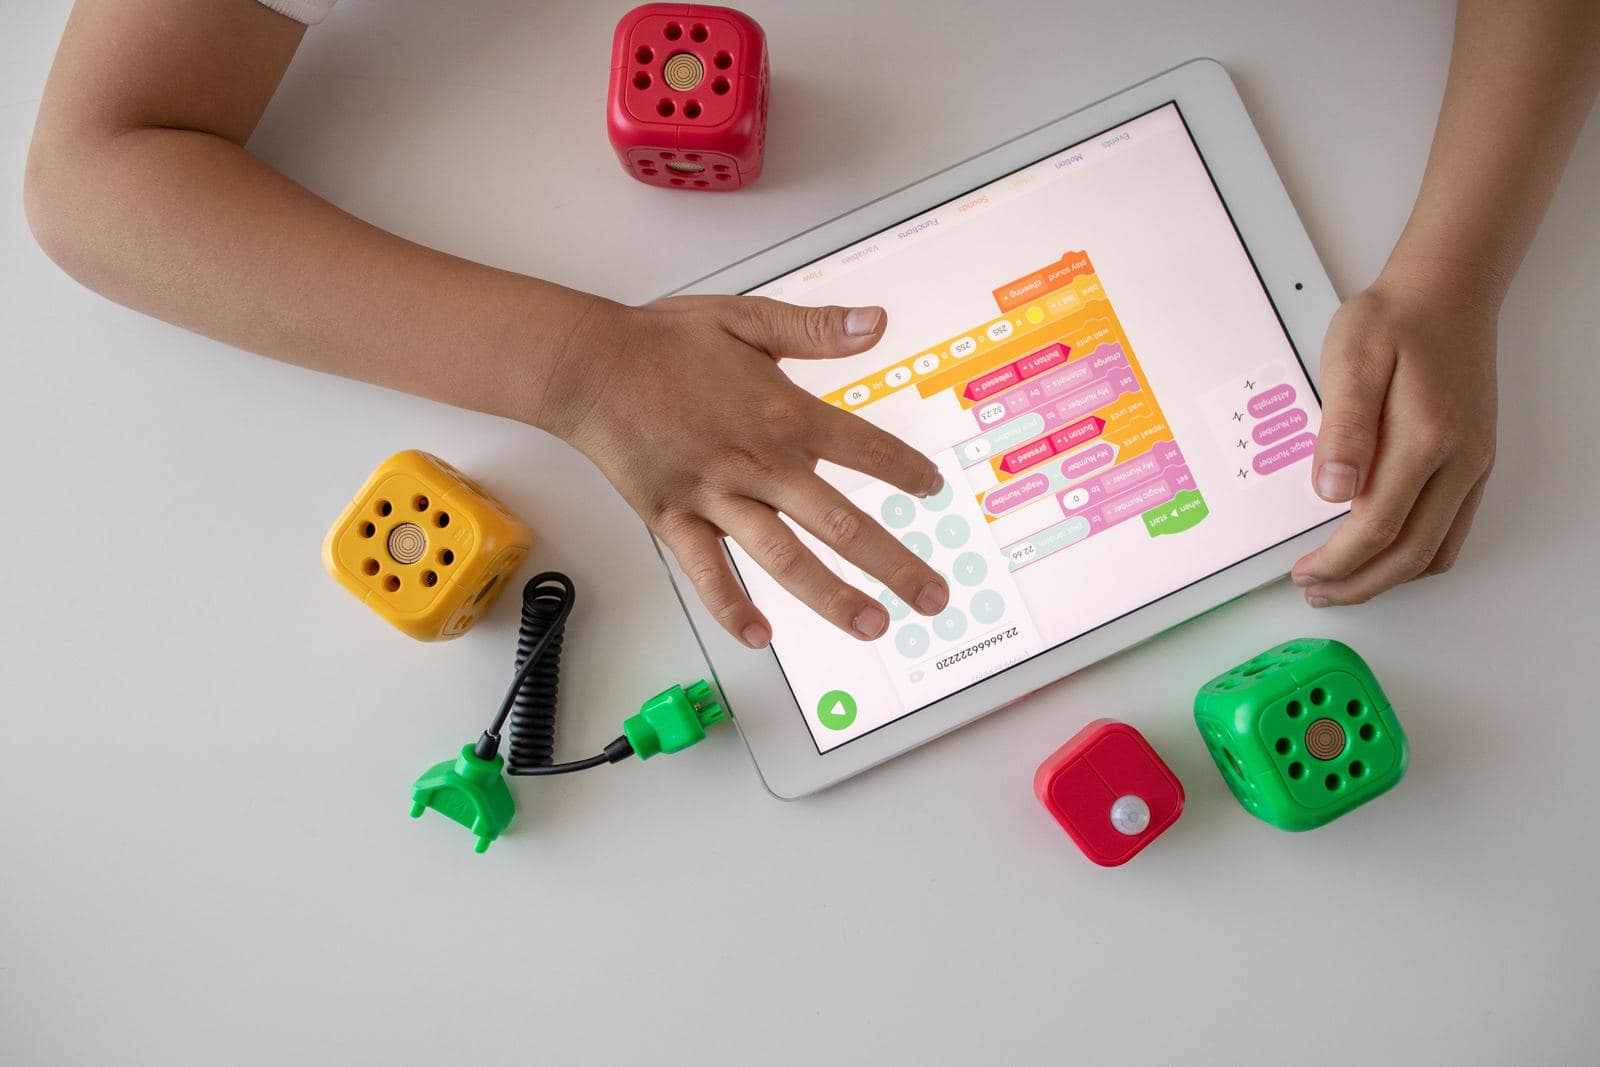
Open scratch.mit.edu, click "Create" — and you're looking at three areas: the stage, sprites, and blocks. That's enough to start building your first project, no manual required.
The interface in three minutes
On the right is the stage — that's where the action happens. Below it are sprites, the characters you control: ready-made from the library or drawn from scratch. On the left is the block palette, and in the middle is the workspace, where you snap blocks into sequences.
Four block categories that cover the basics
Events start the program — almost every script begins with "when green flag clicked". Motion moves and rotates a sprite. Looks changes costumes and adds speech bubbles. Control adds loops and conditions. The rest (Sound, Sensing, Operators) can wait.
Your first project: a sprite you can steer
Build this step by step — five blocks is all it takes for a working first program.
- 1Drag "when right arrow key pressed" from Events.
- 2Snap it to "change x by 10" from Motion.
- 3Repeat for the other three arrow keys, adjusting the x and y values.
- 4Click the green flag — the sprite responds to the keyboard.
- 5Add an "if...then" block from Control paired with the "touching edge" sensing block, so the sprite changes costume or plays a sound when it hits the edge of the stage.
A second project: a simple catch-the-falling-object game
Once the first project works, add a second sprite falling from the top of the stage. From Motion, use "go to random position" at the start and "change y by -5" inside a "forever" loop so it drifts down. Add an "if...then" block checking "touching" the first sprite — that's your first game mechanic: catching points.
Common beginner mistakes
A script with no "when green flag clicked" block at the top won't run at all — that's the most common reason for "nothing happens". The second is a "repeat 10" loop instead of "forever", so the program stops after a moment. The third is blocks placed next to each other instead of snapped into one chain — Scratch only runs the first one.
Where to find more projects
Every project published on the Scratch community site has a "See inside" button — you can open anyone's project and see exactly which blocks it's built from. That's a faster way to learn than reading documentation, as long as someone helps pick projects at the right level. A project that's too advanced discourages faster than no example at all.
A tutorial is a start, not a full course
This tutorial covers the first two or three hours with the tool. For regular learning, the most value comes from someone who explains new concepts exactly when they're needed, and makes sure a hard moment doesn't close the subject for good.
Want to sign your child up for Scratch lessons?
Check out our group and 1-on-1 online lessons for kids aged 7-15.
See pricing →